
Modifying Symbology in Quickmap
Modifying the symbology of the map enables you to configure Quickmap to look and feel how you want it to. This section explains how symbology is implemented using Quickmap, and how you can modify it to meet your purposes.
Themes
Themes have been created for different uses.
Note: You must be in a Theme under “My Themes” to modify symbology.
Opening the Symbology Editor
To use the Symbology Editor, press F9, or select Tools → Symbology → Edit from the main menu.
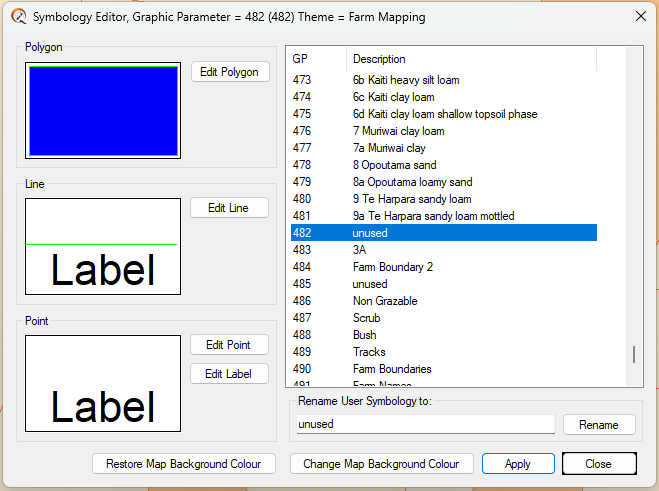
Using the Symbology Editor
The Editor displays the Graphics Parameter (GP) number for any particular feature.
- Click the list box on the right-hand side to change the currently edited GP to the one you require.
- Rename an “Unused” GP to meet individual requirements.
- Once a change has been made to the GP, click the Apply button.
To change the appearance of a selected feature, refer to Selection GP.
Tip: To find the GP code for any feature in Quickmap, select an example using the Info tool and press F9. The GP will appear in the title bar of the Symbology pop-up. For example, a parcel boundary may show as GP2 (or GP14 for post Land Online parcels).
Additional Resources
For more details on how to change the symbology, refer to: Edit Polygon, Edit Line, Edit Point, Edit Label.
See also: How To Use Your Own Symbols In Quickmap
Please like this page: